
At this point I feel like cascade cabling is not secret, but for the uninitiated: cascade cabling is the technique that involves running cables from instrument to instrument in the front ensemble rather than directly to your mixer or snake (see diagrams below)


Why?
You can see in the second diagram that, even with the addition of a second snake box, the cabling is chaotic and messy.
By cascading the cables from instrument to instrument, you achieve a few important things:
- The cables stay organized…aesthetics are important.
- The cables stay out of the way for the students, decreasing the chances that they’ll be stepped on and eventually damaged.
- Less wear and tear in general, even if students aren’t stepping on cables
- There is little to no chance the cables will be come tangled.
- There is little to no chance the cables will be plugged in incorrectly, providing they are labelled clearly.
But the main and most important reason why we use cascade cabling is…
SETUP TIME!!!!
When not utilizing cascading cables, performers have to run their cables to the snake boxes during setup and either wait their turn to plug into the snake, or hand off their cables to the students who are tasked with plugging in all the cables. This is taking away from valuable time that they could very likely use during setup.
When you make the decision to set up cascading cables, you are making a decision to dramatically decrease your baseline setup time, as well as the potential for disorganization and mistakes. Students need only worry about those cables that are directly next to them, attached to their instruments. No need to roam throughout the chaos of pre-show setup to find their way to the snake to plug their cables in.
How?
Setting up cascading cables is a time-consuming and potentially confusing process, but ultimately it is worth it. The following is a step-by-step guide to setting up a cascading cable system for your front ensemble. For ease of describing audio flow direction, I will refer to audio being sent as being sent “downstream” and audio being received as being received from “upstream”…for example, a mic will send audio downstream to a mixer, and a mixer will receive audio from a mic upstream.
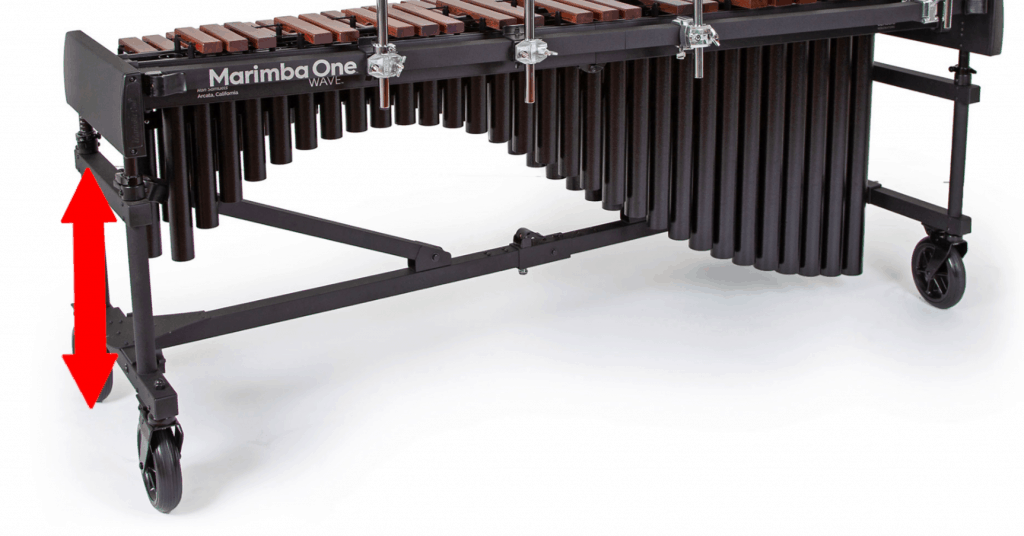
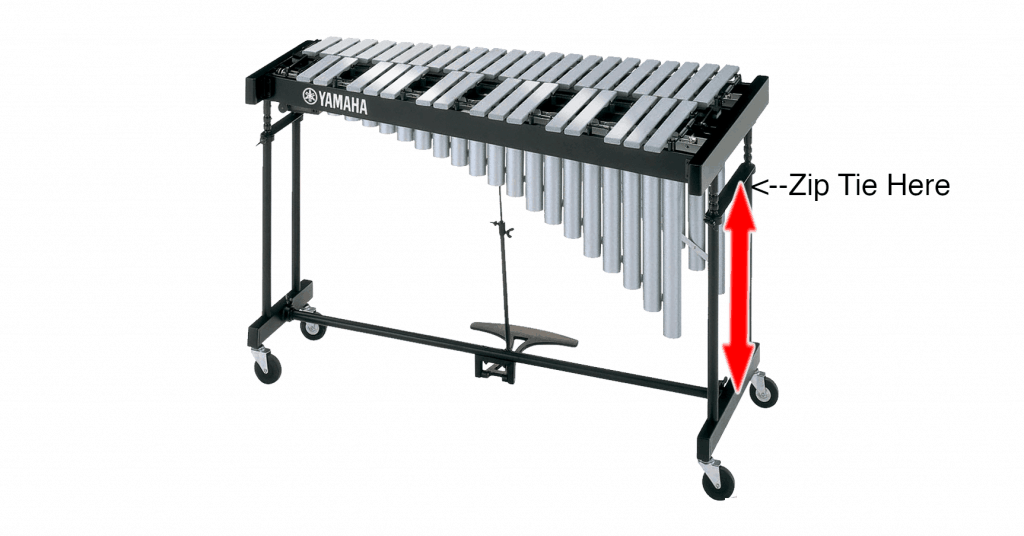
Step 1) Remove front (black key) resonators off the marimbas and vibes. This will allow you easy access to the frame onto which you will attach your cables.
Step 2) Lay your XLR (microphone) cables out AHEAD OF TIME!!! I cannot stress enough how important this step is. It provides you the opportunity to double check that your cable is facing the right direction and organizes the cabling for that instrument, setting you up for success. Remember that on XLR cables the male end will send audio and the female end will receive audio. Since we are sending audio from the mics, you want the male end of the cable facing downstream towards the next instrument and the female end facing upstream, ready to receive audio from the instrument before it. Setting your cables out ahead of time will also help you to visualize cable length, keep you from having to constantly stand up and kneel back down again when attaching the cables, and will just provide you a system to work within…helpful if students are lending a hand with the process.
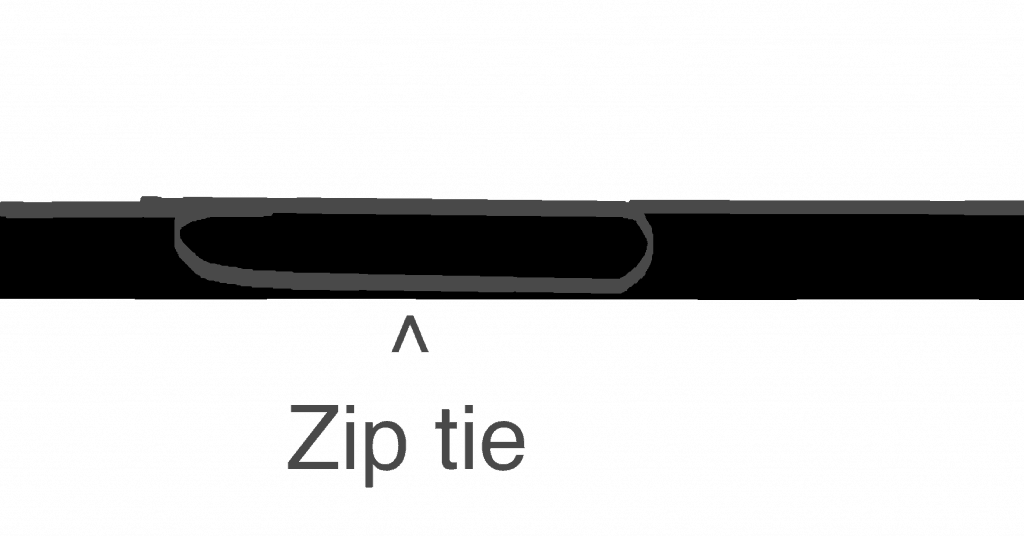
Step 3) Once you’ve make sure your cables will be the right length (err on the side of longer rather than shorter) start by attaching your passthrough cables. These are the cables that are receiving audio from the instrument further upstream in the signal flow. If you are working on an instrument that will not house passthrough cables (first instrument in the signal chain, for example, like vibes and marimbas on the extreme edges of the ensemble), move on to Step 4. I recommend attaching the cable to the frame at a length so that the female end of the XLR is a few inches above the ground, to avoid dragging. Use 12″ black zip ties to attach cables. Do not be afraid to tighten the zip ties, within reason.
Step 4) Now that you have the input side of the cable securely attached, you can attach the rest of the cable to the frame. Stop when you reach the first mic that is attached to the instrument you are currently working on. Be sure to follow the frame closely to ensure a nice, neat look…aesthetics are important!
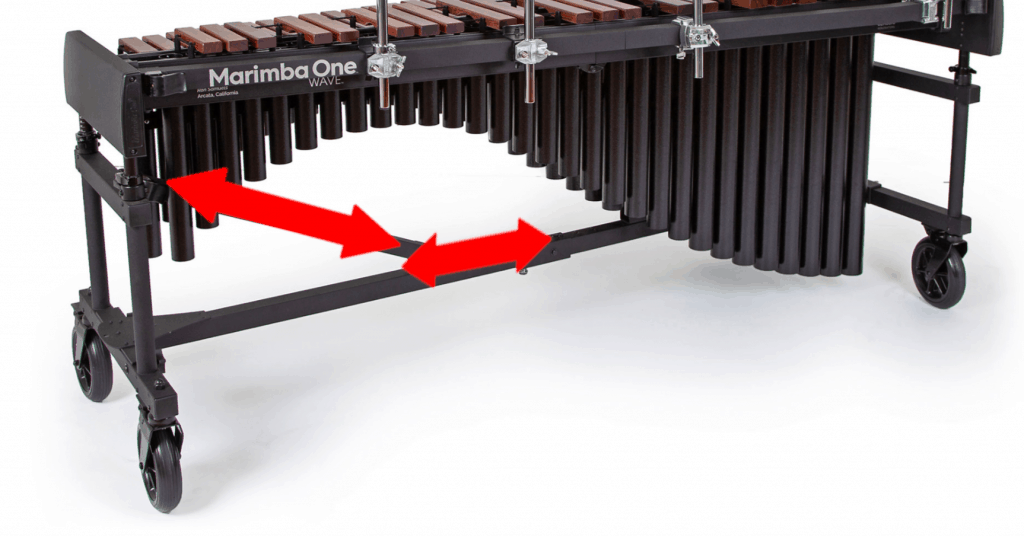
Step 5) Once you reach the first mic on the instrument, (or if you skipped to this step from Step 3 and this is your first cable), you’ll want to include this mic cable into the group of passthrough cables. We attach all the cables together so that we’re not using an extreme amount of zip ties by taking multiple cable-attachment passes…this can look bad and become confusing when hunting down inevitable cable problems later…imagine if you 4 cables separately, using a zip tie per pass, and then you realize you need to get replace the first cable you laid? That means you now have to take off 4 zip ties to get to that cable…for each point of attachment. Messy, time consuming, and not fun.
Step 6) Once all the passthrough cables and mic cables have been attached to the frame by at least 1 zip tie, now is the time to make sure that the cable length at the other end of the instrument will be nice and neat. To do this, I usually will gather up all the cables, run them out the other side of the instrument frame, and, like in Step 1, organize them all so that they hang a few inches off the ground. Once they’re the right length, zip tie them at the end of the frame to hold them in place at that length…let’s call this “final” zip tie, since it’s the last one in the signal chain. Note: unless you have cables that are perfectly sized for your instrument, you will like have excess cable between the “final” zip tie and the zip tie that ensures that all cables are attached to the frame, as described in the first sentence of this step.
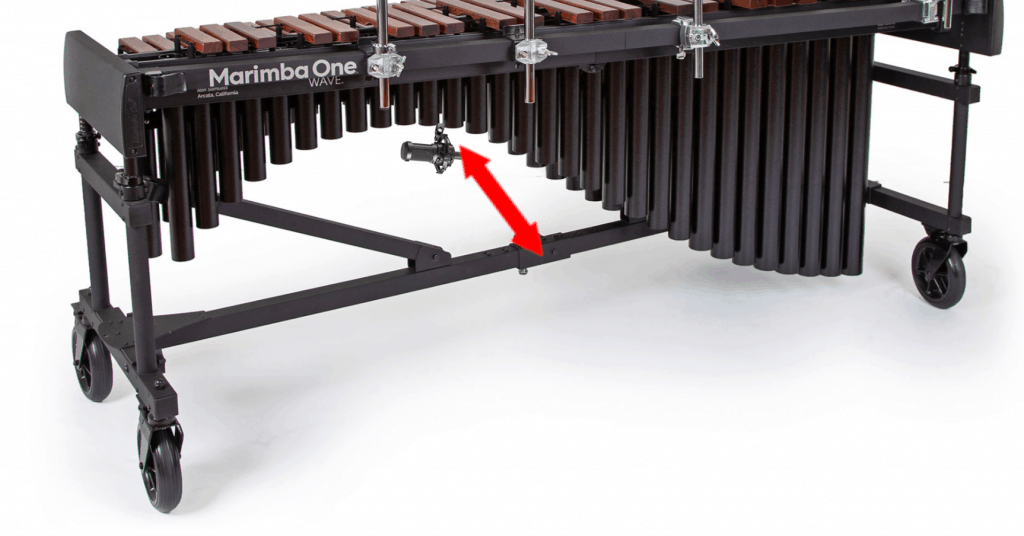
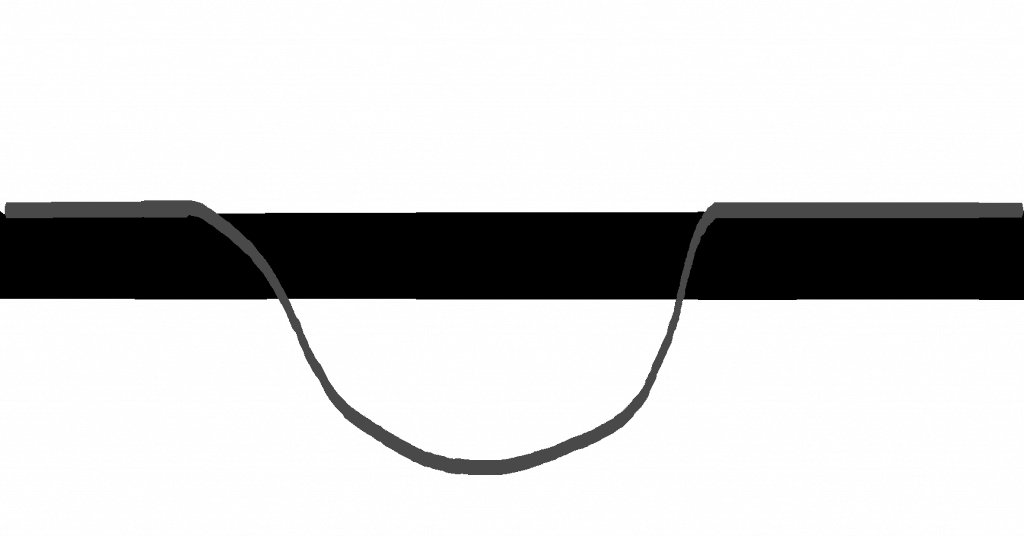
Step 7) Clean up the excess cables. As mentioned in the prior step, you likely have some excess cable at this point that needs to be attached to the frame. Typically I form this cable into loops that I attach to the frame, being as gentle as possible with the parts of the cable that are curved…you don’t want to bend audio cables, as it can damage the fragile, fine wires inside the casing.
Step 8) You’re done! If all goes well, you’ll
Cons of the Cascade Method
There are a few cons of this method, one of which being the number of cables used, and therefore the cost. In the first two diagrams on this post, we can see that the direct cabled setup only uses 20 cables, but that same setup when cascaded will use 42 cables.
Another con is troubleshooting…there are a lot more links in the audio chain, and therefore it might be tricky to figure out why you’re not getting audio from an instrument, especially if it’s wayyyyy upstream in the audio signal flow. This is a pretty easily solvable problem when you have a cable tester (get a cable tester!!!), but if you don’t have one you might spend half an hour or more trying to figure it out.
Overall though, I think that the benefits of using cascading cabling far outweighs the cons. Happy cabling! =)