
Ableton Live is the most popular DAW (Digital Audio Workstation) due to its flexibility and ease of use, though the learning curve is admittedly a bit steep at first. In this article we will show you step-by-step how to load a sample into Ableton and perform it using a MIDI controller.
Please note that this short tutorial does not cover setting up Ableton to playback audio, only audio sample setup and MIDI mapping. For a more in-depth dive into Ableton, please watch my Ableton Live for Marching Bands video series.
Step 1:
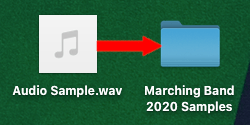
Download your sample and place it in a folder on your desktop that you have set aside specifically for your audio files.
Step 2:
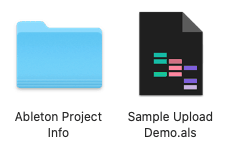
Open Ableton Live. If you are creating a new Live set, then simple click the Ableton Live icon in your computer’s application folder/location. If you are opening a specific Ableton Live set that you’ve previously created and saved, navigate to the folder that contains your Ableton Live set…
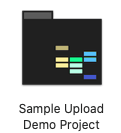
…and the double click the .als file inside to open your Ableton Live set.
Step 3:
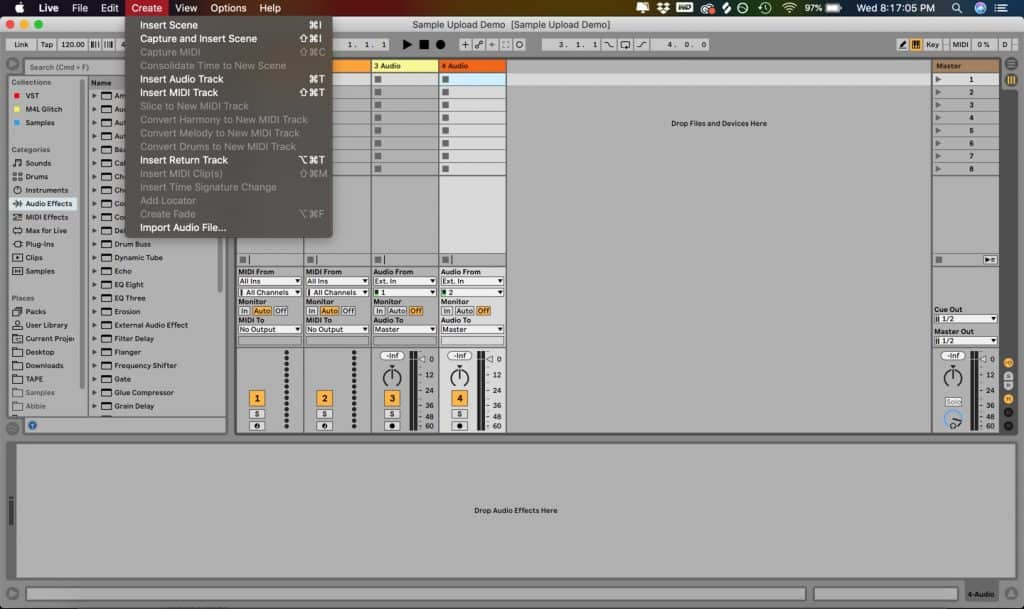
After you open Ableton, you will need to create an Audio Track on which to place your sample. To do this, press Command+T (Control+T on a PC), or go up to Create in the menu and choose Insert Audio Track.
Step 4:
After you have created your audio track, drag and drop your sample onto the first empty clip slot on that track.

After you do this, you should have something that looks like this:
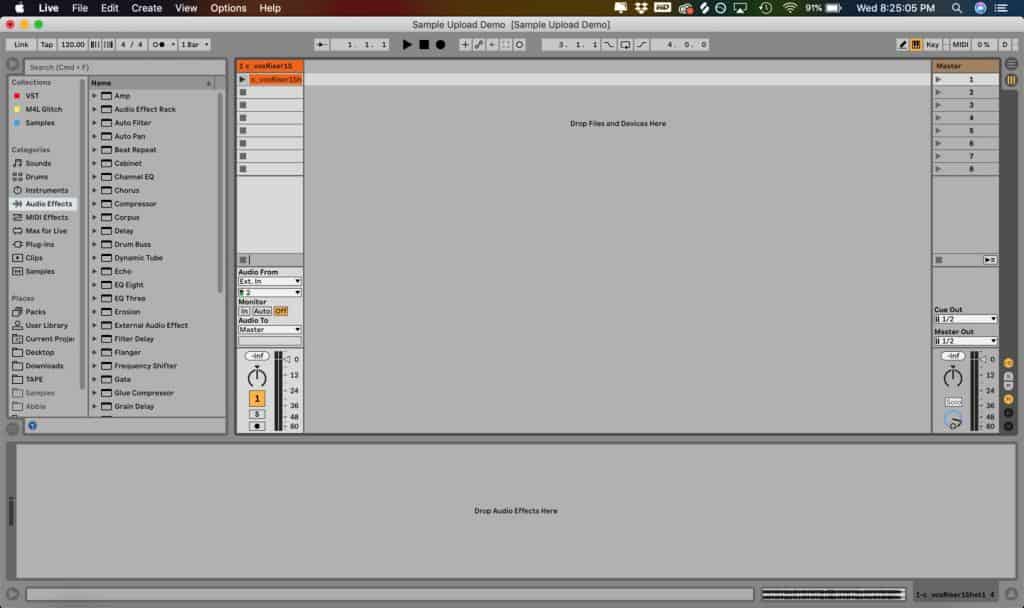
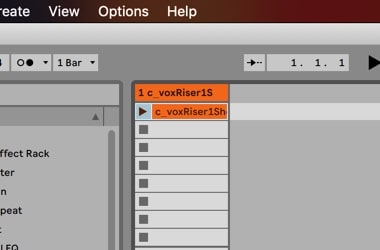
Note: The audio track will automatically set itself to be the same name of the audio sample you first drop onto it, but you can change this by clicking on the name of the audio track and pressing Command+R to rename.
Step 6:
Now you need to set up a way to trigger the sample with a MIDI controller. We have two commonly used controllers here to demonstrate. The techniques shown with these two controllers should translate to most other commonly encountered MIDI controllers, so no worries if you’re using something other than these two.
Let’s start with the Arturia Minilab, a keyboard-style controller. If you are using a Novation Launchpad and would like to jump to the step where we start talking about that, skip ahead to Step 10.
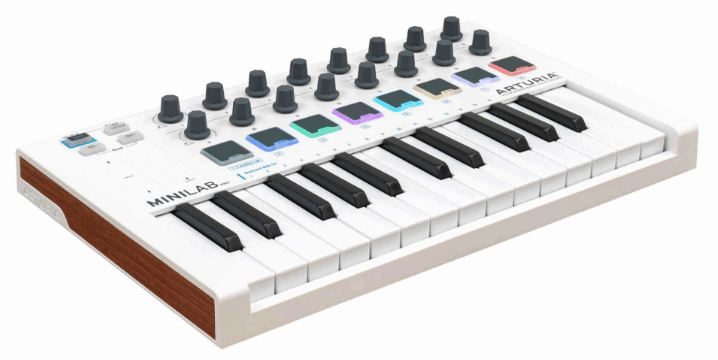
First, plug the controller in via USB cable.
Step 7:
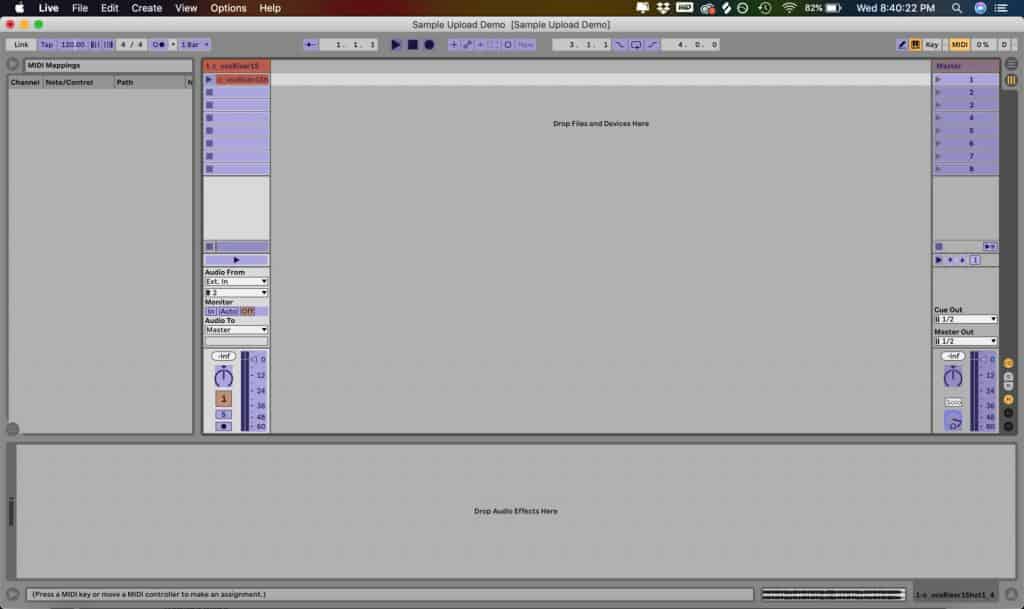
At the top right corner of the Ableton screen, you should see a small box that says MIDI. Click this box to enter MIDI Mapping Mode. A box that says “MIDI Mappings” should open on the left side of the screen, and all of the MIDI-mappable parameters available to you will be highlighted. The color that it is highlighted may vary depending on how you have your color scheme set. On our computer they are shown in blue.
Step 8:
Click the sample to select it and press the key on your MIDI controller which you would like to use to trigger your sample. When you do this, a small box specifying the MIDI Channel/Note will appear on the sample clip, and the mapping will appear in the MIDI Mappings box on the left. In our example, we mapped Note C2 on MIDI channel 1 to trigger the clip, hence the 1/C2.
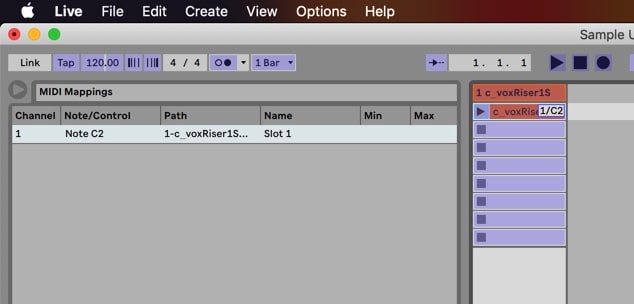
Repeat this step until you have mapped all the samples you wish to perform on your MIDI controller. Note that you can map multiple samples to be triggered simultaneously with the same key. When you are done mapping, click the MIDI button on the top right again to exit MIDI Mapping Mode.
Step 9:
Now play your keyboard, making sure that all of the samples are correctly mapped. You’re good to go!
Remember that you can use different MIDI channels to playback samples with the same key as well. There are 16 MIDI channels, and in this situation I like to think of them as sample banks. If you are using a 2 octave keyboard like the Arturia, you only have 25 keys. But by switching MIDI channels, you are not actually limited to 25 samples, but instead can play 25×16, or 400 samples! Which should be plenty to handle any of your sampling needs in this activity!
Step 10:
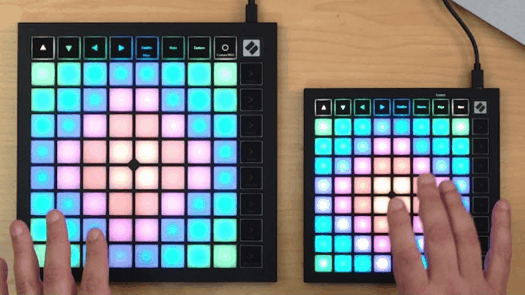
Now let’s set this up with the Novation Launchpad. There are significantly less steps to get rolling with samples using the Launchpad, though we prefer using a keyboard-based controller rather than a grid-based controller. If you’re curious about why, check out the post titled “Pads vs. Keys: Which Style of MIDI Controller to Trigger Samples?“.
First plug in your Novation Launchpad via USB cable. If the controller if correctly configured, you should immediately see a green box appear around the clips in your audio track. If no green box appears and the Launchpad does not change it’s display, skip ahead to Step 13.
Step 11:
After plugging the Launchpad in, you should see a pad(s) lit up on the Launchpad which may or may not be a similar color as your clip(s), depending on the model of Launchpad you are using. If not, press the pad labelled “Session” on the Launchpad to display this.
Step 12:
Press one of the illuminated pads, or if you are using a single sample, press the only illuminated pad. The corresponding sample should trigger, and you’re done!
Step 13:
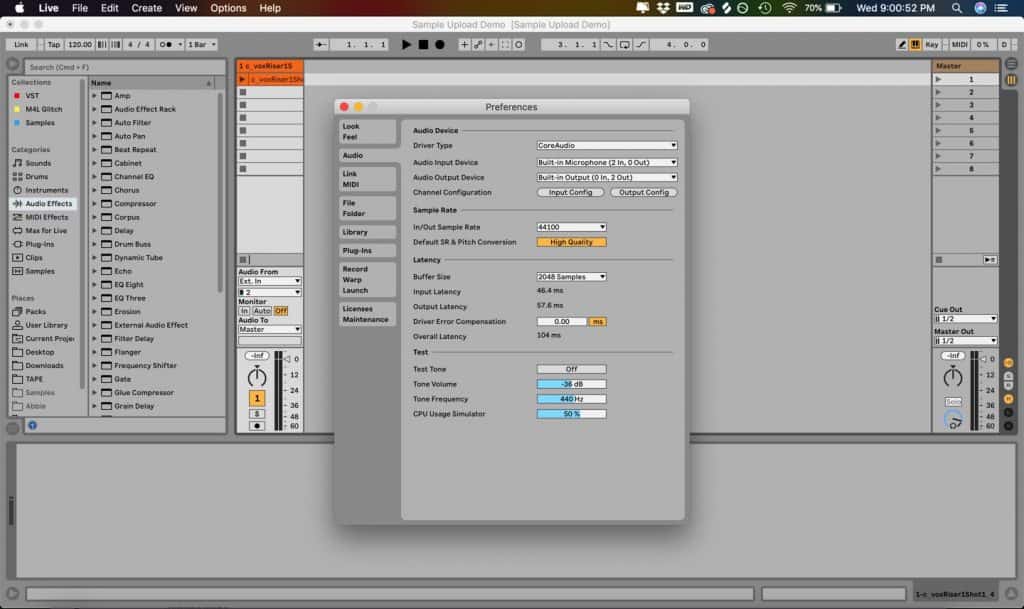
If you plugged in your Launchpad and did not see the green box appear, you may need to reconfigure some MIDI settings in Ableton. First, open the preferences by pressing Command+, or clicking on Live in the menu and navigating to Preferences.
Step 14:
Navigate to the Link MIDI tab, and under control surface, set one of the dropdown menus to reflect the make/model of your Launchpad. I’m using the Launchpad Mini Mk3, so I will use that for an example. Under the Input section, on the same row as the dropdown which you just set, select Launchpad Mini MK3 (LPMiniMK3 DAW Out) and under the Output section select Launchpad Mini MK3 (LPMiniMK3 Daw In).
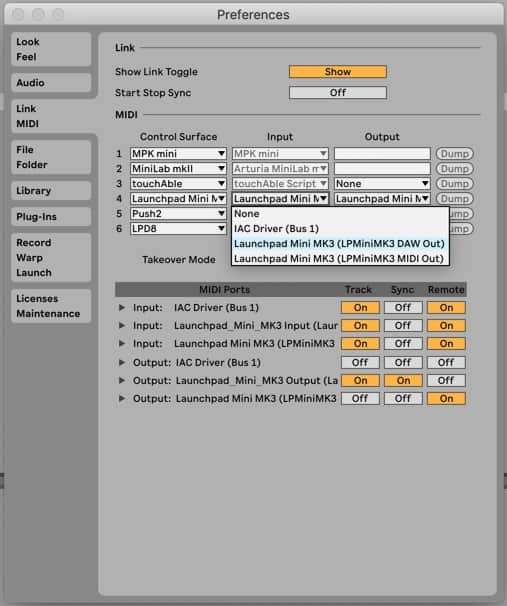
As soon as you do this, your Launchpad should automatically switch to Session mode, and you should see the pads on the launchpad illuminate corresponding to your samples. At this point, skip back to Step 12.